Difference between revisions of "Asteroid"
m (Definitely not what they say.) |
m |
||
| Line 77: | Line 77: | ||
When destroyed, Robots A and B drop their associated amount of Power Cores in a single drop. When Robots C are destroyed, they perform a death animation wherein they run around dropping a stream of Power Cores. | When destroyed, Robots A and B drop their associated amount of Power Cores in a single drop. When Robots C are destroyed, they perform a death animation wherein they run around dropping a stream of Power Cores. | ||
| − | When destroyed, Robots A and B also gib (drop destroyed Dispenser parts), these gibs may collected for [[Ammo]] or [[Metal]]. | + | When destroyed, Robots A and B also gib (drop destroyed Dispenser parts), these gibs may be collected for [[Ammo]] or [[Metal]]. |
==Strategy== | ==Strategy== | ||
Revision as of 09:08, 13 July 2014
| “Let's go, let's go, let's go!” This article documents a recent addition. It may contain speculation, broken links or errors. You can help improve it by editing this page to include new information. |
| “You are so small! Is funny to me!” This article is a stub. As such, it is not complete. You can help Team Fortress Wiki by expanding it. |
| Asteroid | |
|---|---|
| |
| Basic Information | |
| Developer(s): | {{{map-developer}}} |
| Map Info | |
| Environment: | Space |
| Setting: | Space |
| Map Photos | |
| Map Overview | |
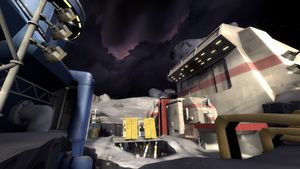
Asteroid is a Robot Destruction beta map, released in the July 8, 2014 patch. It is set in a space station. The goal of the map is to head to the other team's base and destroy robots wandering near their spawn. However; the player can steal a "reactor core", which holds all of the opposing team's points, and bring it back to their base to steal a certain amount of the enemy team's points, depending on how many points you loaded it with. Stealing the reactor core and successfully capturing it plays very similar to that of a Capture The Flag map.
As of the July 8, 2014 patch, it is unfinished and still in development, but the TF2 community is allowed to play-test it and give feedback to Valve on how to balance the map.
Contents
Locations
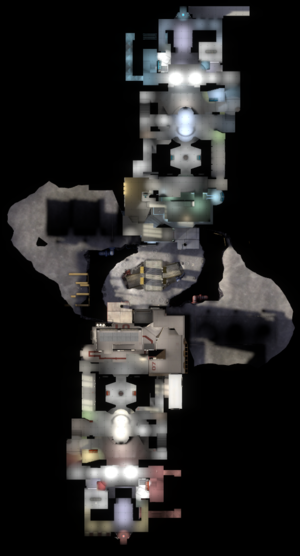
Asteroid is a mirrored symmetrical map.
- Bridge – The main choke point of the map, the Bridge connects the two above-ground RED and BLU bases; another bridge running beneath it provides an alternate route on the lower part of the buildings. An open space is on either side of the bridge.
- Lobby – This area contains the earliest accessible A robots of either team.
- Hallways – A series of hallways connecting to the center. B robots can be found nearby.
- Spawn – A windowed chamber with overlook of the B robots and exits into the battlements and Reactor. A pre-made teleporter placed within the spawn as part of the level allows travel directly to the robots seen below.
- Reactor – The final room, this contains the C robot within a glass chamber facing away from the outer entrance, and a path leading directly to the visible Reactor Core guarded by alternating environmental death inducing laser beams, plus another, longer path travelling through a separate small room which also reaches the Core without passing by the lasers.
Robots
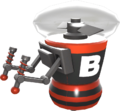
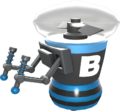
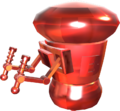
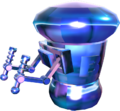
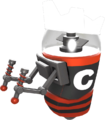
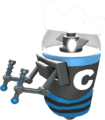
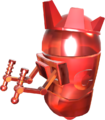
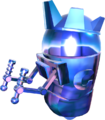
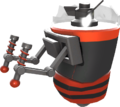
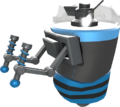
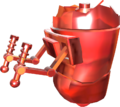
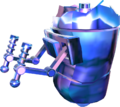
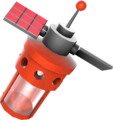
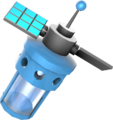
The robots featured on this map serve as scoring targets. Players may attack the robots, which drop Power Cores when destroyed, which may then be collected for points. One point is scored for the player's team for each Power Core collected.
The robots are separated into three areas, named A, B, and C. There are two robots moving around each area. They will always follow their path that is marked on the floor, unless they are being attacked. They are defenseless, but will make a feeble attempt to escape attackers. Upon destroying both robots in area A or B, a door marked A for destroying A robots and B robots will open which opens up an alternate path for the player to take. The doors close when the robots A and B respawn.
Robot data
| Group | № Robots | Cores per robot | Health per robot | Respawn time |
|---|---|---|---|---|
| A | 2 | 5 | 500 | 60 |
| B | 2 | 10 | 500 | 90 |
| C | 2 | 25 | 500 | 90 |
Robot behavior
Robots in areas B and C are protected by what appears to be an ÜberCharge when the robots in front of them are alive; Robots B are protected if any Robot A is alive and Robots C are protected if any Robot B is alive.
After 7 seconds without taking damage, the robots heal themselves at a rate of 8 health per second.
All of the robot groups share a respawn timer. The timer is reset when each group of robots is destroyed.
When destroyed, Robots A and B drop their associated amount of Power Cores in a single drop. When Robots C are destroyed, they perform a death animation wherein they run around dropping a stream of Power Cores.
When destroyed, Robots A and B also gib (drop destroyed Dispenser parts), these gibs may be collected for Ammo or Metal.
Strategy
Update history
- Added Mann Co. Beta Maps - Early Access program.
- Added 2 new beta maps:
rd_asteroidandpl_cactuscanyon. - Beta maps can be accessed via the Quickplay menu by checking the "Play Beta Maps" option.
- Added 2 new beta maps:
- Updated rd_asteroid
- Fixed incorrect respawn times for Blu attackers
- Fixed missing kill triggers in pits
- Added blockers to starting gates to prevent Engineers from building outside the base before the round starts
- Added medium health kit near large ammo pack at the front doors of each base
- Removed the ability to create buildings in the lasers
- Removed chair prop from vent access room near vault
July 9, 2014 Patch #2
- Updated rd_asteroid to fix another problem with respawn times for Blu attackers
Bugs
- The robots sometimes display %HEALTH% instead of a number indicating health, or display nothing at all when moused over, especially if the player backs through them.
- Enemy robots can be walked through.
- The hole next to the RED team's upper spawn gate has a gap that doesn't kill players and allows them to go through.
- The fences by the stairs leading to the water in the C area and the fences by the stairs leading to the underground area can be walked through.
- Spawn gates are not configured like standard spawn gates
- When setup ends, spawn gates disappear instead of opening like they do on other maps,
- Spawn gates are not aligned properly
- Spawn gates do not block bullets.
- The larger doors to each base's teleporter rooms use vertical spawn gates, but they slide open horizontally.
Trivia
- There is commented out I/O to disable the laser trap when all the robots are destroyed.
- There are unused paths from the closet next to the vault entry to the main robot paths.
- There are unused paths, labeled "powerline", from the outer robot paths to the inner paths and into the laser trap.
- The spawn room Teleporter cannot be destroyed after the round by the enemy team.
- The reactor cores are set up for paint, similar to a hat.
Gallery
External links
References
