Difference between revisions of "User:Bojjob/GIMP technique"
(Created page with "This is a tutorial on how I make my images transparent using GIMP. I'll put somethin' here soon") |
|||
| Line 1: | Line 1: | ||
This is a tutorial on how I make my images transparent using GIMP. | This is a tutorial on how I make my images transparent using GIMP. | ||
| − | I' | + | == Wot I do == |
| + | The first thing I do is go to {{code|Options > Background Color...}} in HLMV and set the background to completely white, if it isn't already. | ||
| + | |||
| + | |||
| + | Once I've done that, I take a screenshot and paste it into GIMP. | ||
| + | |||
| + | |||
| + | I then press Ctrl+B to add a black background behind my model and then paste a screenshot of that into GIMP and make it a new layer. | ||
| + | |||
| + | |||
| + | After that, I move the black background screenshot underneath the white one and set the layer mode of the white one to {{code|Difference}}. | ||
| + | [[Image:User_Bojjob_GIMP_example1.png|none|350px|left]] | ||
| + | |||
| + | I then go to the Channels tab, right click on the red channel and click {{code|Channel to Selection}}. | ||
| + | [[Image:User_Bojjob_GIMP_example2.png|none|350px|left]] | ||
| + | |||
| + | Once the selection is set, I go back to the layers tab and click on the white image. I then clear the selection ({{code|Edit > Clear}}) to delete the background. | ||
| + | [[Image:User_Bojjob_GIMP_example3.png|none|350px|left]] | ||
| + | |||
| + | After the background is clear, I crop out all of the HLMV ui and then autocrop to remove all the blank space. | ||
| + | [[Image:User_Bojjob_GIMP_example4.png|none|350px|left]] | ||
| + | |||
| + | Once I'm done, I export it as a .png file and it's ready to go! | ||
| + | [[Image:User_Bojjob_GIMP_example5.png|none|350px|left]] | ||
| + | |||
| + | :{{c|note}}: Make sure you set the layer mode back to normal before you export your image otherwise it will save it as a blank image | ||
Revision as of 09:06, 13 October 2017
This is a tutorial on how I make my images transparent using GIMP.
Wot I do
The first thing I do is go to Options > Background Color... in HLMV and set the background to completely white, if it isn't already.
Once I've done that, I take a screenshot and paste it into GIMP.
I then press Ctrl+B to add a black background behind my model and then paste a screenshot of that into GIMP and make it a new layer.
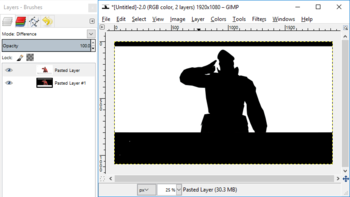
After that, I move the black background screenshot underneath the white one and set the layer mode of the white one to Difference.
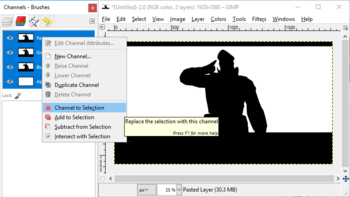
I then go to the Channels tab, right click on the red channel and click Channel to Selection.
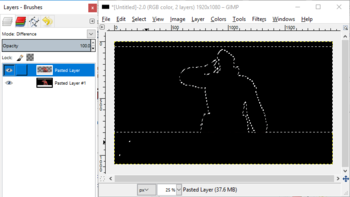
Once the selection is set, I go back to the layers tab and click on the white image. I then clear the selection (Edit > Clear) to delete the background.
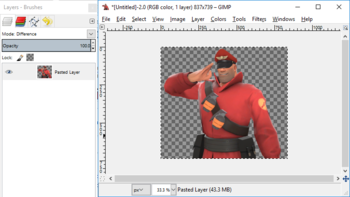
After the background is clear, I crop out all of the HLMV ui and then autocrop to remove all the blank space.
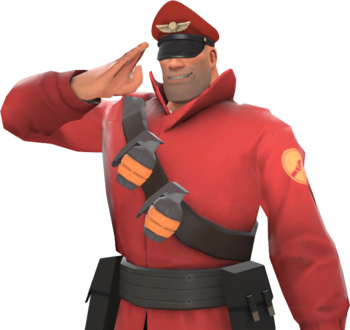
Once I'm done, I export it as a .png file and it's ready to go!
 Note: Make sure you set the layer mode back to normal before you export your image otherwise it will save it as a blank image
