Community Ghost Town strategy
| “You are so small! Is funny to me!” This article is a stub. As such, it is not complete. You can help Team Fortress Wiki by expanding it. |
| Community Ghost Town strategy | |
|---|---|

| |
| Basic Information | |
| Developer(s): | {{{map-developer}}} |
| Map Info | |
| Environment: | Desert |
| Setting: | Night |
| Hazards: | Pitfall |
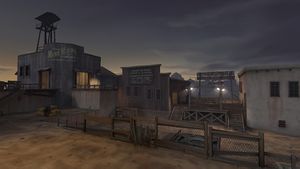
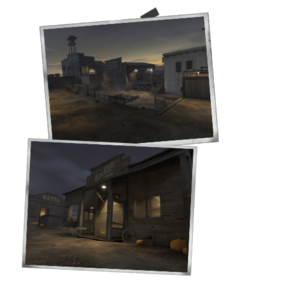
| Map Photos | |
This article is about Community Ghost Town strategy
Contents
General (All Classes)
- As there is only one 'wave' in Wave 666, there is significantly less free time to return to the spawn and buy upgrades. The best times to do this will be immediately after respawn, and when the next robots are slower Giants.
- You will receive 5000 credits at the start of the match, rather than the 400 to 1500 most maps start you with. Use this money wisely.
- Due to the sheer number of robots that will attack you, each class will struggle in different parts of the Wave.
- Damage output is the main difficulty, and there is tons of money available. Use Crit Canteens freely.
- Upgrading your crit resistance to the max is a very smart option to take, as most of this wave will have crit robots somewhere.
Class-specific strategy
 Scout
Scout
- Although it is not strictly necessary to have a money collector on this map due to the amount of money available already, a Scout can work very well provided they are skilled and can make the most of their other abilities.
- A Scout with Mad Milk can help keep his team alive if they use it often.
- Consider using the Fan of War rather than the Sandman for marking robots, as the Sandman does incur a small max health penalty when equipped, and the Fan does not need upgrading in order to provide the Marked effect.
 Soldier
- A very good all-around class to have on this mission.
 Pyro
Pyro
- The hardest sub-wave of the map is probably the Tanks and Spies sub-wave, so having a Pyro is very helpful.
 Demoman
- Upgrading your Grenade Launcher will help greatly against tanks. Consider upgrading both your Grenade Launcher and the Scottish Resistance if you have the money.
 Heavy
Heavy
- A Heavy that invests in Projectile Destruction will be invaluable during the periods where Soldier robots attack, and will provide some assistance during Demoman attacks.
- Remember, Heavy does reduced damage against Tanks, and it is usually best for him to focus on keeping his teammates alive while they kill Tanks.
 Engineer
- Given the length of the map, and the relatively small level of down-time you will get between robot appearances, having a two-way teleporter up and running quickly may prove invaluable to teammates who wish to purchase new upgrades.
- Ensure that most, if not all, of your teammates can reach your Dispenser safely.
The lack of Super Scouts on this mission enables you to be very mobile with your Sentry Gun.
 Medic
Medic
- Most classes shouldn't actually die very often during this mission, with the key difficulty being damage output, not healing. If anything, reviving teammates will just rob them of the opportunity to buy upgrades and canteens. Anyone who attempts to play Medic should be very skilled at maximizing their effective damage output with the Projectile Shield and the Ubersaw.
- Use the Kritzkrieg with a Scottish Resistance combo to help a demo make large clusters of sticky traps.
- The Heavy will benefit the most from your healing, as it will allow him to get closer to robots and deal more damage.
 Sniper
- Clustered giants make landing a quadruple headshot rather easy. With the Explosive Headshots upgrade, the resulting damage will be massive.
- Using a Sydney Sleeper to coat far enemies in Jarate may prove beneficial.
- Even though the Sleeper cannot deal critical headshot damage, the Explosive Headshots upgrade still functions as normal and should still be used with this weapon.
 Spy
Spy
- Large numbers of giants and a high amount of starting cash make Spy a very viable money collector on this mission.
- Before the onslaught begins, consider purchasing one point of health regeneration. The Pyro robots can be troublesome, and having their afterburn almost negated for a measly 200 credits can prove both an easy time at the start, and regenerative health to shrug off hits from feigning.
