Community Mountain Lab strategy
| “You are so small! Is funny to me!” This article is a stub. As such, it is not complete. You can help Team Fortress Wiki by expanding it. |
| Community Mountain Lab strategy | |
|---|---|

| |
| Basic Information | |
| Developer(s): | {{{map-developer}}} |
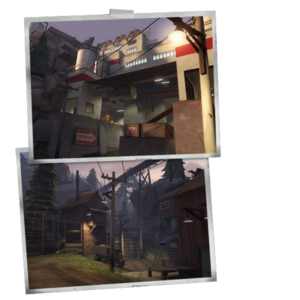
| Map Photos | |
This article is about Mountain Lab strategy.
Contents
General
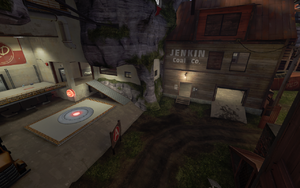
- The final point is very open and as such is susceptible to combined-fire maneuvers.
Class-specific strategy
 Scout
Scout
- A good idea when going for the final control point is to wait in a corner or secluded out of sight area near the control point for all the enemies to pass, then start capturing. You may be able to draw the enemies back, allowing your team to advance.
- Be sure to take the secluded routes, to maximize surprise. This way you can have the enemies' health low before they even realize they're being attacked.
- The Sandman may be a good choice for this map, due to the long straightaways.
 Soldier
 Pyro
Pyro
 Demoman
 Heavy
Heavy
 Engineer
 Medic
Medic
 Sniper
 Spy
Spy
- One of the safest ways to get through the middle is to Cloak and to go across the top, where there is usually little to no traffic.
- Remember to sap teleporters as it is a long walk to the control point.
- On offense, a good place to hide out at the first control point is inside the building behind it, disguised as a Sniper. Then, when you see an opening in the enemies, perhaps an exposed back, jump through the window and attack. After, Cloak and go back to the window, or escape.
 Go through this area while Cloaked to minimize chances of being discovered.

