Difference between revisions of "Community Highpass strategy"
(→General strategy) |
(→{{class link|Scout}}) |
||
| Line 23: | Line 23: | ||
== Class-specific strategy == | == Class-specific strategy == | ||
=== {{class link|Scout}} === | === {{class link|Scout}} === | ||
| + | |||
| + | *The Scout is great for this map. His double jump can get him from the bridge to almost anywhere, and the open nature of the capture point enables his trademake "hit and run" attacks. | ||
| + | |||
| + | *The [[Soda Popper]] is a great option here, as you can jump most of the way across the map. | ||
=== {{class link|Soldier}} === | === {{class link|Soldier}} === | ||
Revision as of 06:15, 11 May 2016
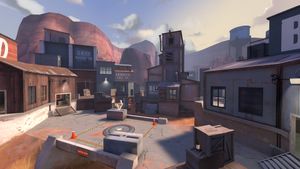
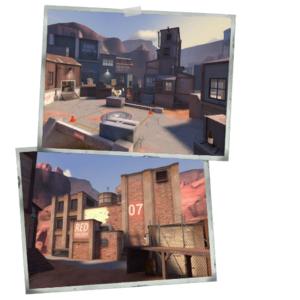
This article discusses community strategy for Highpass.
| Community Highpass strategy | |
|---|---|

| |
| Basic Information | |
| Developer(s): | {{{map-developer}}} |
| Map Info | |
| Environment: | Industrial, desert |
| Setting: | Daylight, sunny |
| Map Photos | |
Contents
General strategy
- The map is very open, so maneuverability is a big advantage.
Class-specific strategy
 Scout
Scout
- The Scout is great for this map. His double jump can get him from the bridge to almost anywhere, and the open nature of the capture point enables his trademake "hit and run" attacks.
- The Soda Popper is a great option here, as you can jump most of the way across the map.
